Fixing an unfocusable Minolta Hi-Matic
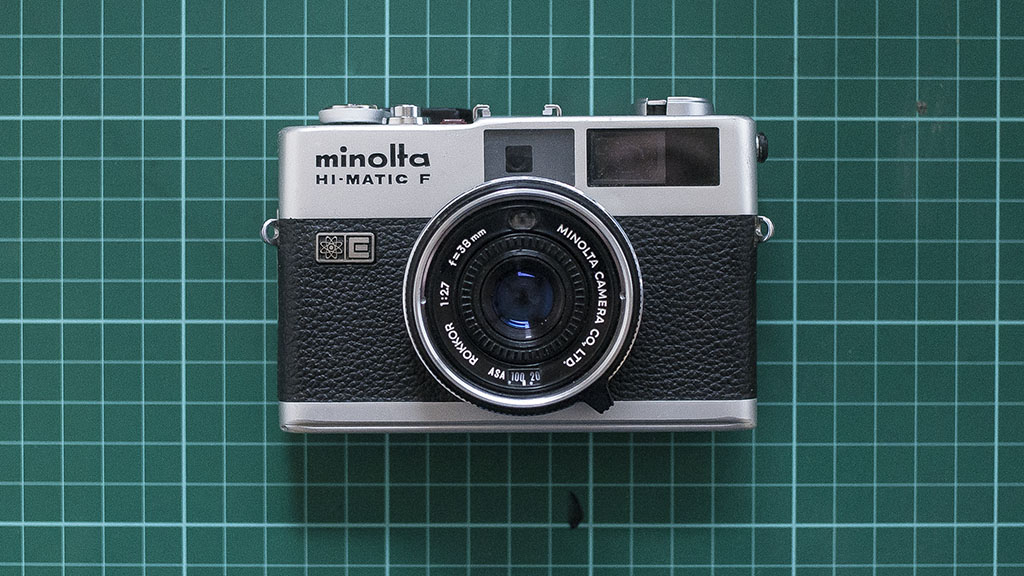
02 Apr 2015I have an old Minolta Hi-Matic F 35mm film camera – I love it dearly, despite its desire for unconventional batteries – and one day it suddenly stopped focusing properly. It was impossible to make the projected amber circle of the viewfinder align with the viewfinder image, and the lens seemed a bit ‘looser’ than normal.
Thankfully this was a simple fix that simply required the tightening of a few screws lens assembly. The roundabout way I discovered this isn’t particularly interesting, so instead I will show you what the problem was and how it was solved so you can get back to shooting sooner rather than later.
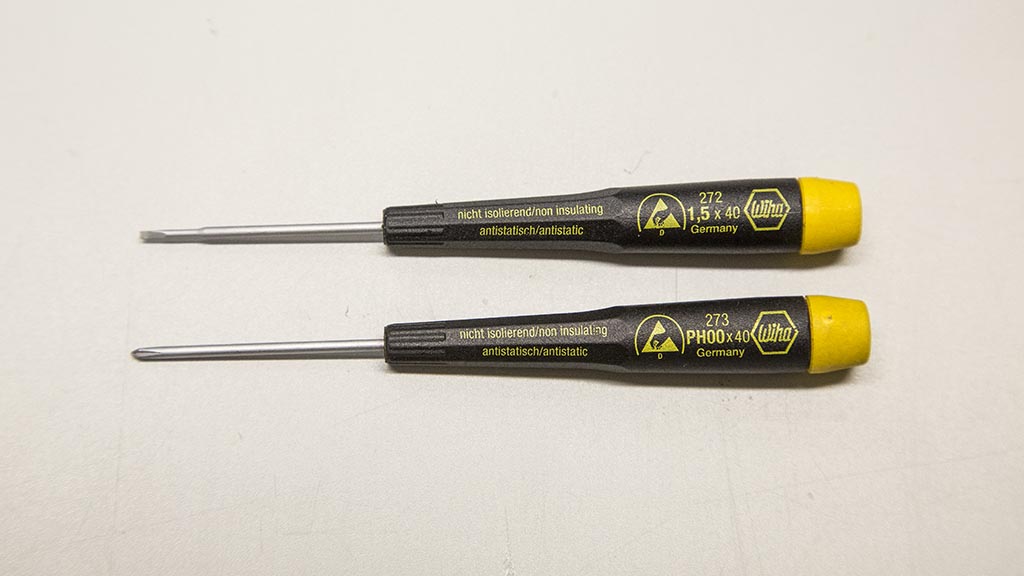
You will need a small flat head screw driver, and a small philips screwdriver. You won’t need to remove the top or bottom shells of the case, but if you are looking for that, hang around for a while and I’ll show you how.
First remove the batteries. It’s always a good idea to remove the batteries to prevent any inadvertent damage caused by errant screwdrivers causing shorts. Next, remove any paraphernalia from the lens – UV, sunlight, B&W colour filters – you name it, get rid of it. Unscrew them all and put them to one side safely for the time being.
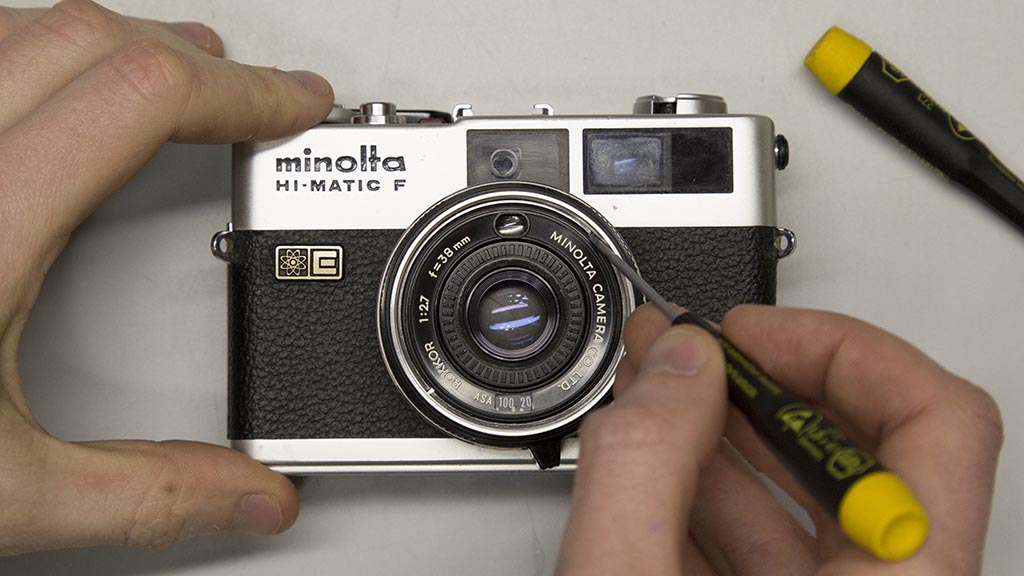
There is a silver ring surrounding the black plastic inner bezel. Two notches in the ring are used with a specialised spanner to unscrew it and release the ISO selecting bezel. We don’t have such a spanner, so gently using a flat screwdriver push the retaining ring counter-clockwise and unscrew it until it can be removed.
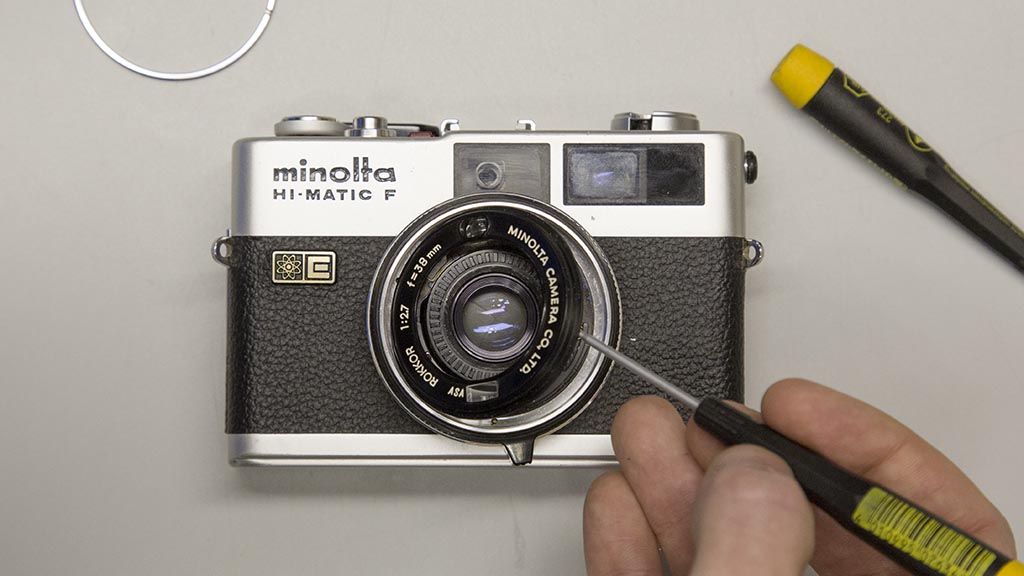
Remove the ISO selection bezel/mechanism by carefully lifting it with the flat screwdriver. There are two parts – the outer ring with the display/metering lens parts and the inner ring with the textured section for adjustment, the numerals for the film speed selection and the progressive filter for the meter.
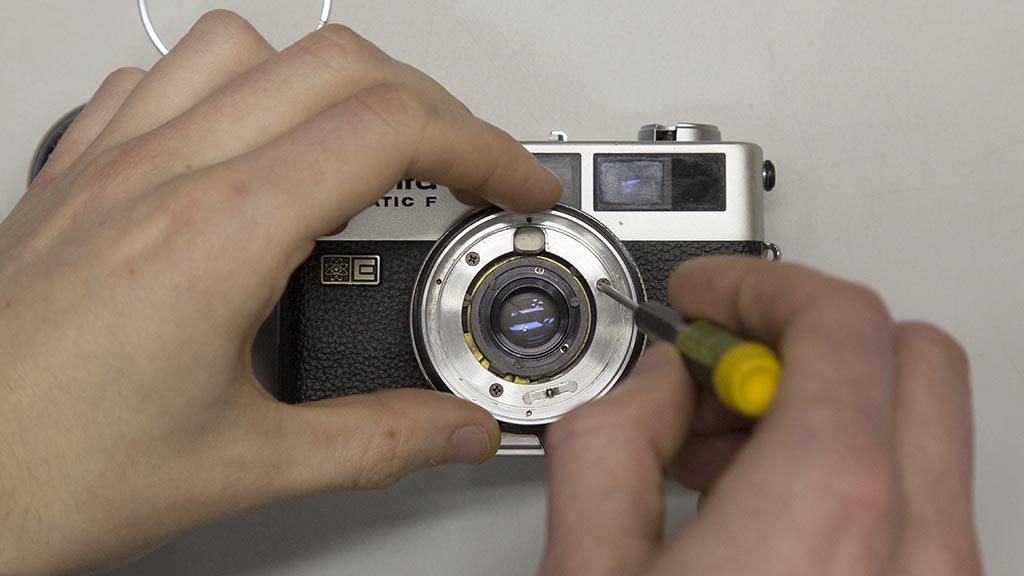
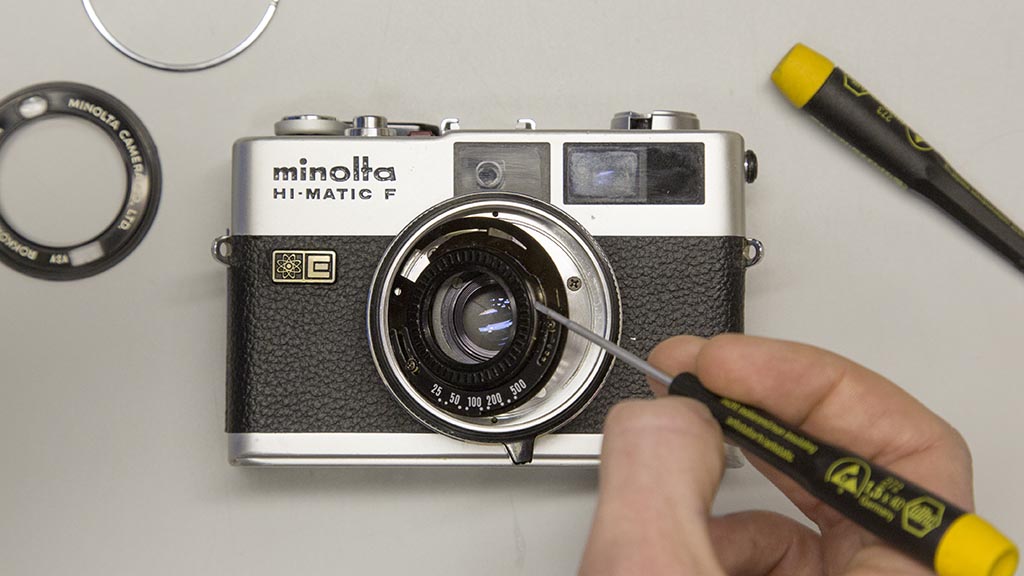
The silver section underneath is where I found the problem. There are three screws here, all of which had vibrated loose enough to allow movement of the mechanism beneath. Remove the three screws, leaving the metal frame in place.
Using a toothpick or a pin apply a small amount of Loctite onto the screws and re-insert them into their appropriate holes. I’m using the blue Loctite which will resist loosening by casual vibration but can be released with a bit of effort or heat. Turn the focusing lever a little bit to ensure that it can still move. If it binds, unscrew the three screws before they stick and leave a comment below, I’ll try to help out.

Reassembly goes in the reverse order. Place the smaller inner ring with the numerals to the bottom of the camera and the wedge shaped slits to the top. Wiggle it slightly to ensure that the detents are seated cleanly. Place the outer ring over the top, ensuring the lens is to the top and the window with the indicator mark is to the top. Once everything is in place, screw the silver retaining ring down using a screwdriver in the slots.
Finally, stick the batteries back in and buzz through a roll of film in celebration!
This definitely isn’t the most complicated of repairs, but it’s easy to be led down the wrong path. I started by removing the top shell of the camera (thinking it might be a linkage that had slipped or broken) and ended up wasting a lot of time by removing the casing.
So there we have it. The focusing is restored, the camera still works great.
Sorted.