Shooting a camera through a pneumatic transport system
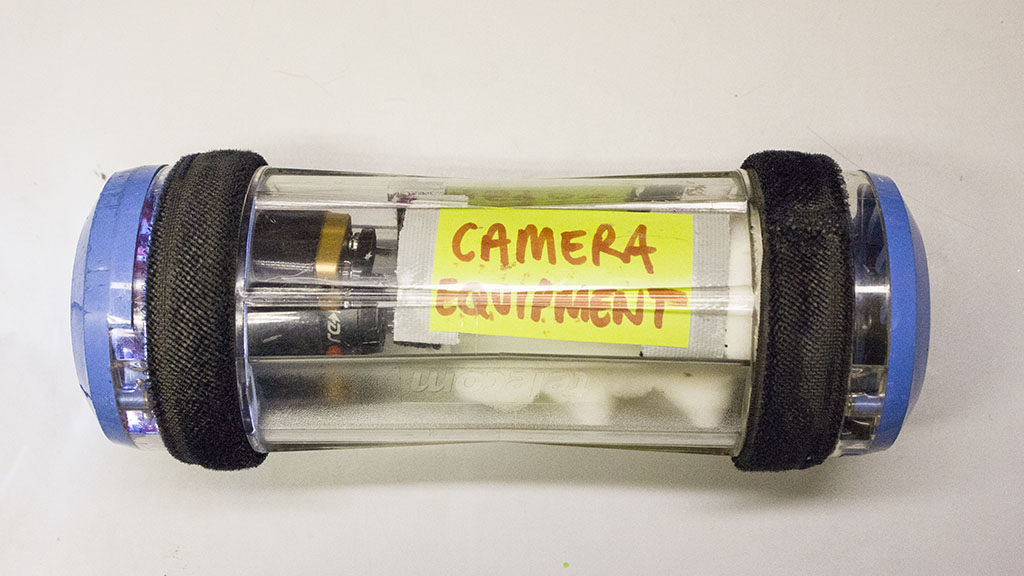
09 Aug 2013A few months ago I was offered a pod from an old pneumatic tube system - the kind of thing that transports samples and internal mail around hospitals and large office blocks. I was pleased when I was allowed to shoot a camera through an old unused section.
For those who are unfamiliar with the system, a series of interconnected tubes use pressurized air to suck and blow containers through various parts of the building, using rotary junctions and physical hubs to move between various 'networks'.
The technician described the whole system as a very basic physical ethernet with packets being exchanged at "switches". How appropriate that description is I am not sure, but it makes sense. For more information on pneumatic transport systems, check out this Wikipedia link.
Now, lets start modifying this pod and put a camera in it.
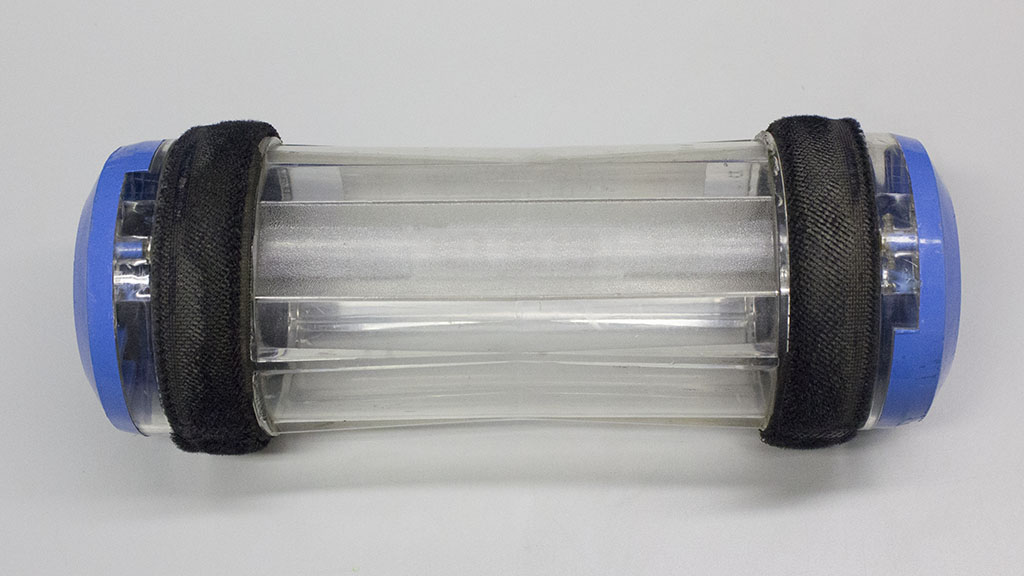
Each end cap rotates and is held in place by a reasonably strong spring. This rotary design ensures that nothing will ever escape from the tube while it is in transit and also prevents overloaded tubes from entering the system - if the end caps aren't fully closed then it won't fit into the loading tube!
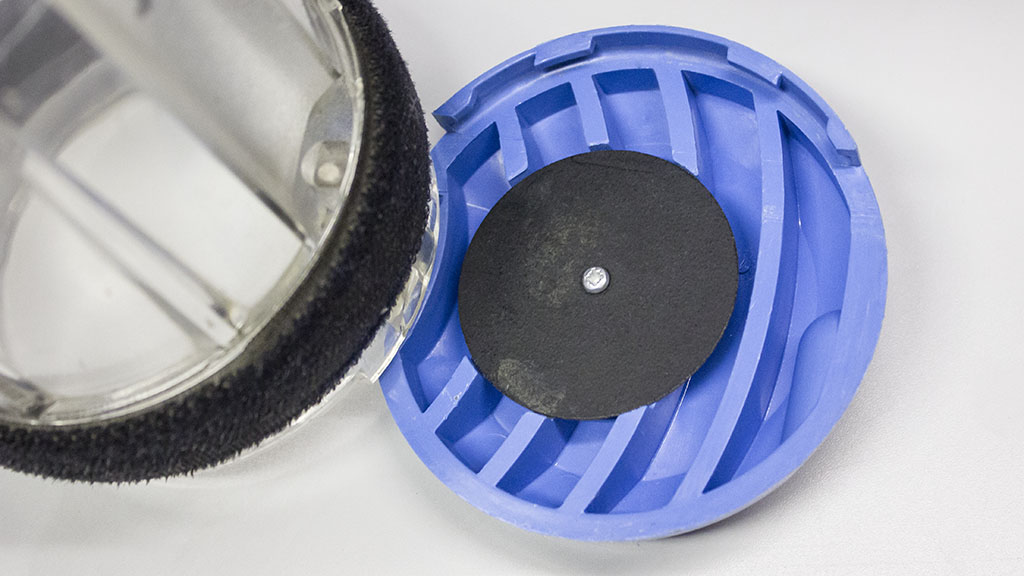
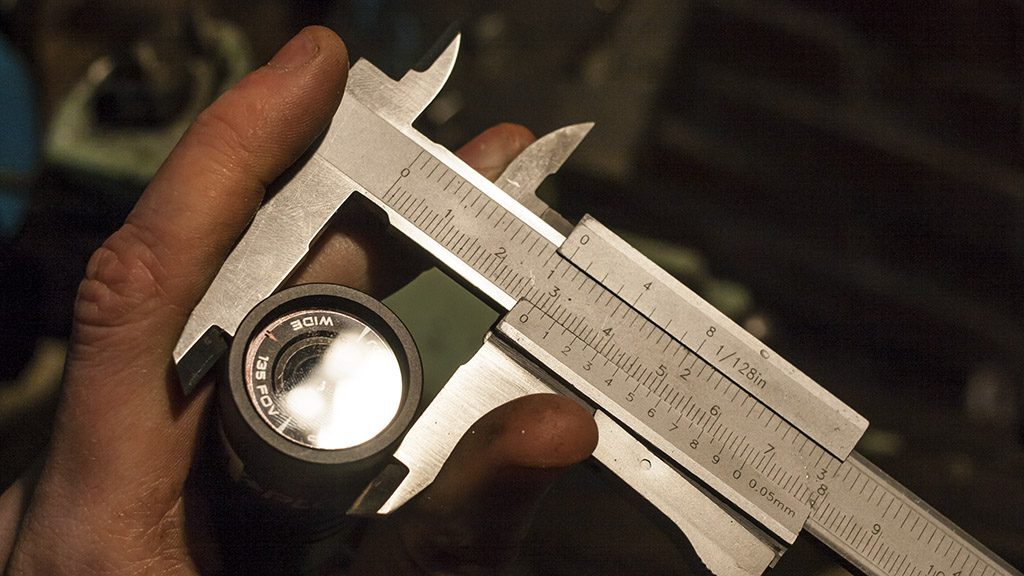
One of the caps is fitted with an RFID tag, allowing the controlling computer to track packages throughout the network - when mounting the camera we don't want to remove or damage this lest we lose the container somewhere in the building.
Obviously the entire container is far too large to mount on the lathe for boring (and I don't have a drill bit with a large enough diameter to do it with a handheld drill) so we need to separate one of the end caps from the body without breaking it - the key to this is a small circlip attaching the spring to a rod embedded in the blue plastic.
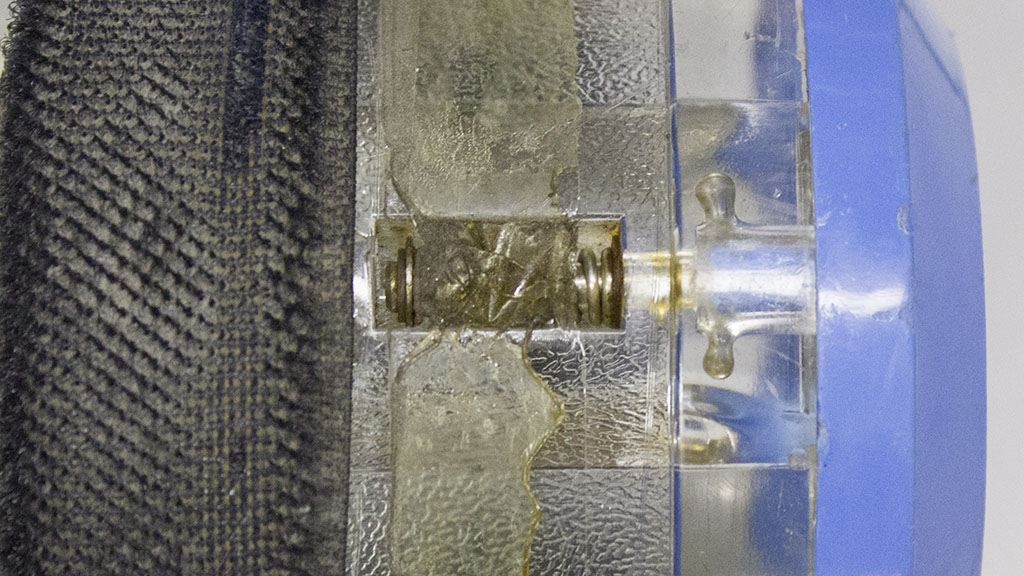
This clip is inaccessible from the inside of the container and must be removed from the outside by sliding the velcro pressure seal to one side and removing the remnants of the old double sided tape that held it in place previously. Once that is out of the way it is a small matter to pop the clip with a screwdriver and remove the two washers and spring from the cavity.
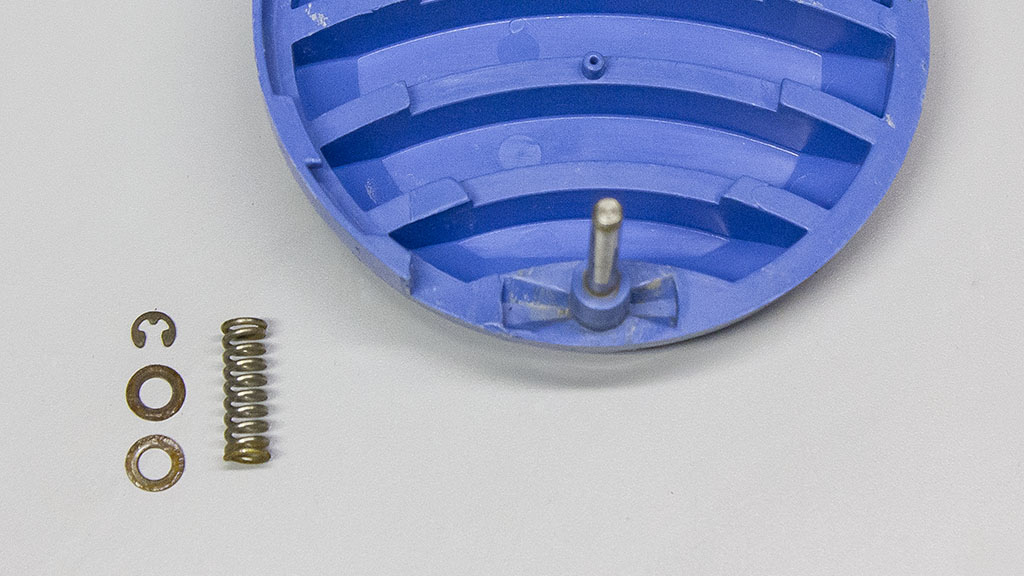
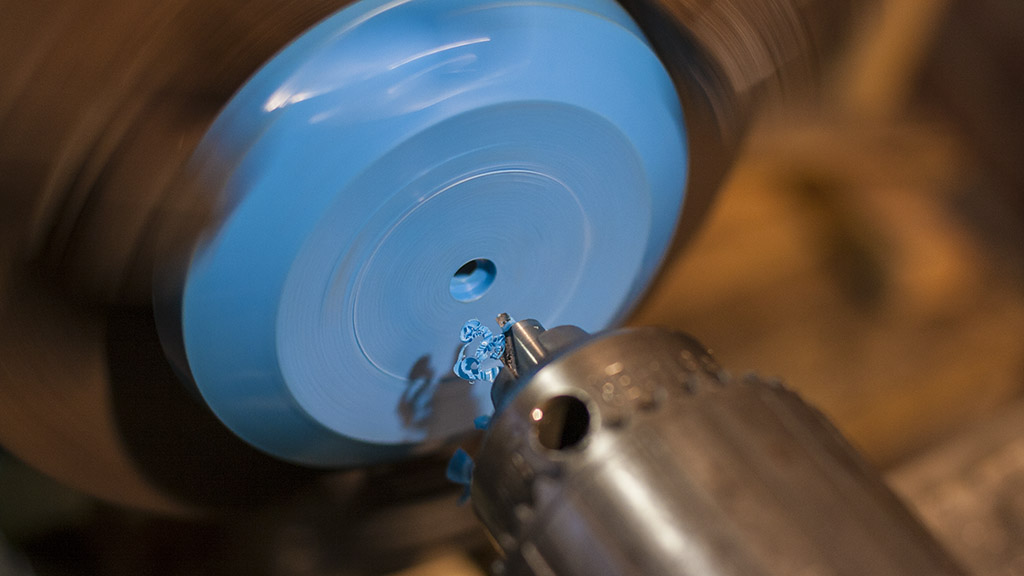
With the end cap separate it can be mounted in the lathe, centre drilled and bored out to size. Aligning the cap was interesting as it has the rod poking out the base - in hindsight it would have been much more accurate and less time consuming to bore the hole from the back side and avoid striking the rod than re-straightening the cap every so often after it has been pushed off centre.
The camera - a Replay XD - has a 28mm diameter so we will be aiming for that plus a small margin to allow for easy insertion and removal - tape will be wrapped around the end of the camera to provide a snugger-than-snug fit thus providing a nice seal against the vacuum pressure of the tube.

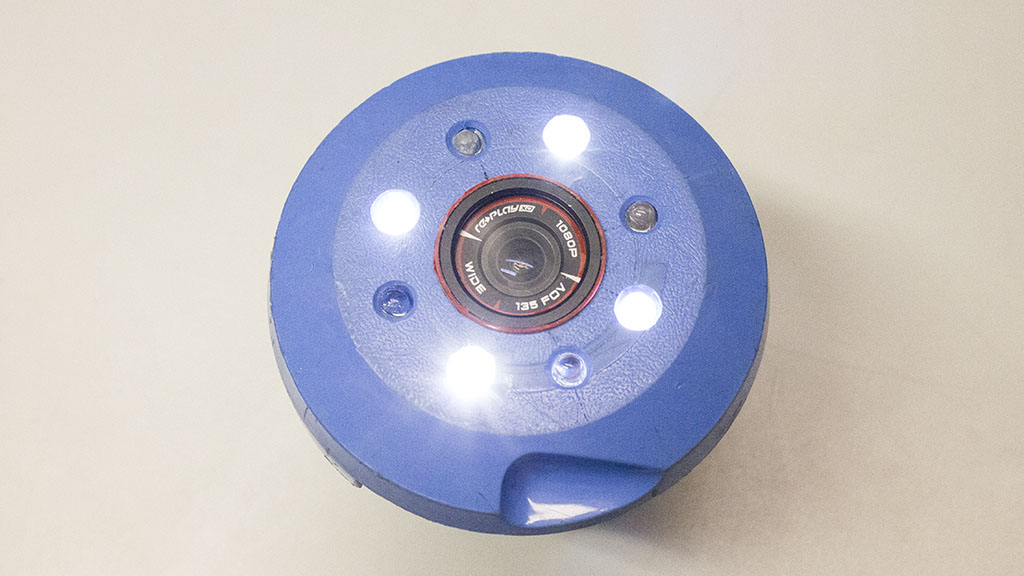
Once the 28mm hole had been put in the centre and the camera fit nicely the next task was to put a series of holes around the periphery to hold the white 5mm LEDs. This was harder than it sounds, mostly due to the reinforcing ribs. No matter what angle I put the eight LEDs at there were always a few that intersected the ribs, pushing the drill bit off course and generally making a mess of things. Because of this, some of the holes are slightly elliptical and most definitely larger than 5mm in diameter! The external side was countersunk, just to make things look nice. It would have helped to remove some of the ribbing from the inside

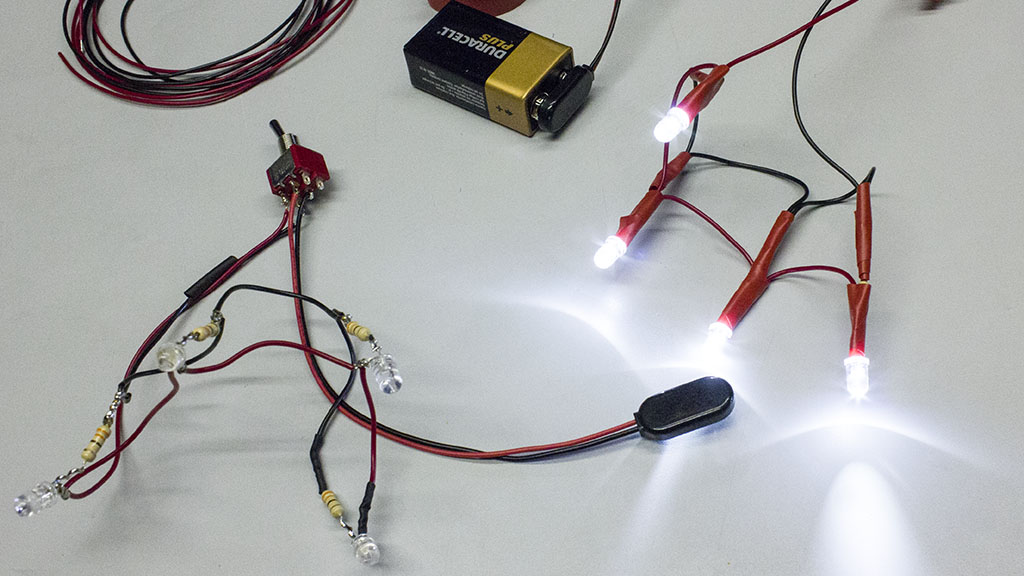
These holes hold bright white 5mm LEDs from BitsBox running from a 9V battery in parallel, with a 330 Ω resistor in series with each. There are two circuits with two separate batteries and toggle switches to allow the adjustment of the brightness. When mounted the LEDs from the two circuits will be interleaved so the lighting is balanced no matter which circuits are turned on at the time.
Any exposed connections are covered in heat shrink tubing and electrical tape then the lights are stuck into the holes with a generous amount of UHU glue. An epoxy would have been nicer and given a firmer hold but following an near miss with Araldite I'm not allowed to use it in the office any more!
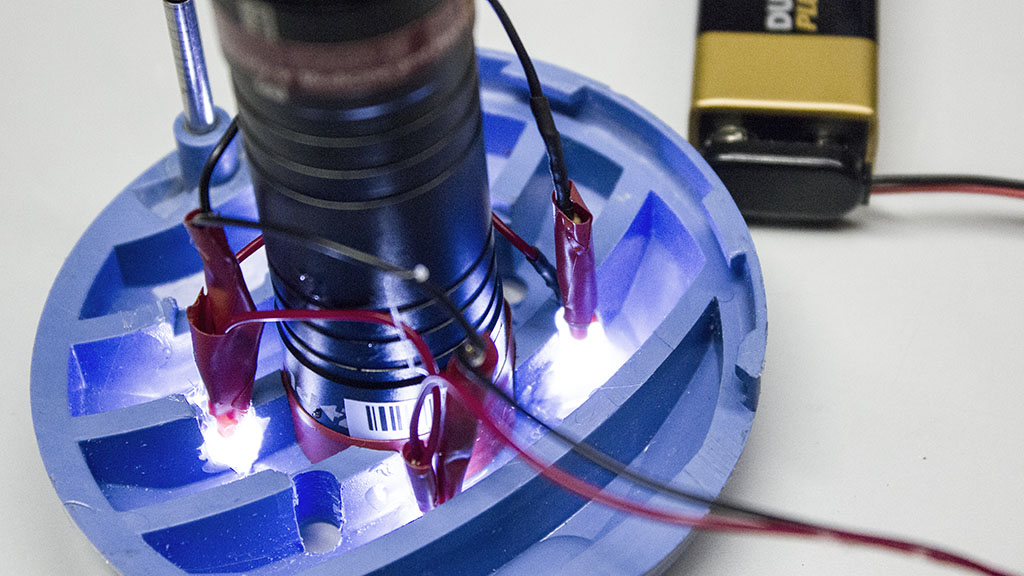
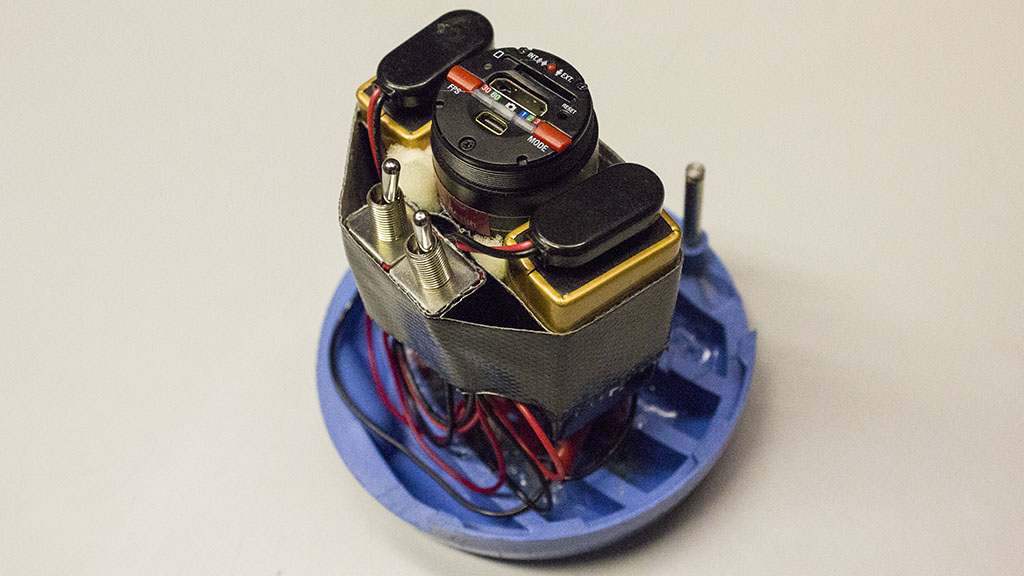
So that's it! The batteries and switches were attached to the central camera along with some foam padding by means of gaffer tape and the entire assembly can be inserted back into the tube easily and the circlip/spring combination reattached - the RFID end cap will swing back to allow access to the light switches and the camera controls/memory card.
To keep the now much heavier end cap in place properly it is necessary to wrap a turn of electrical tape around the join - gaffer tape won't work well in this instance as it is too think and will interfere with the way the pod will go around tight bends, resulting in blocked tubes. Don't ask me how I know this.
Here's a short video from the test run - we shot the camera pod through a short disused loop from one side of the room to another. The pod pauses half way through as the junction behind is rotated to the correct point then shoots off at high speed again.